Guide
Connect to your Mac mini
Reach the Mac mini you rent from any computer: the full desktop with RustDesk, Screen Sharing or a VNC viewer, and the terminal over SSH. Step by step for Mac, Windows and Linux.
5 minutes, updated 2026-10-08
Your Mac mini is in the data center with a public address of its own. You reach it two ways: the full desktop, with RustDesk, Screen Sharing or a VNC viewer, and the terminal, over SSH.
Everything you need is on the Mac's page in your account, under Access: the address, the user, and behind Show login, the password and the VNC password.
- The password is for SSH, for the macOS login and for Screen Sharing from a Mac.
- The VNC password, eight characters, is only for VNC viewers on Windows and Linux.
The smoothest desktop: RustDesk
For working on the Mac's desktop every day, RustDesk is the smoothest we have tried: the picture keeps up with scrolling and video in a way VNC does not. It is free, open source, and runs on Mac, Windows, Linux, iPhone and Android.
RustDesk is optional. Your Mac's page asks you while the Mac is being made ready, and Access lets you add or remove it later. With it comes a RustDesk server of the Mac's own, so the connection goes straight to your Mac and through nobody else's servers. macOS still lets no app see the screen until somebody on the Mac switches it on, so you do that once, over Screen Sharing or VNC as below.
Once, on the Mac mini
- 1Connect the first time with Screen Sharing or VNC.As in the next sections, from a Mac, Windows or Linux.
- 2Open RustDesk.It is in Applications, already pointed at your Mac's own server.
- 3Allow it to see the screen.Click Configure in RustDesk's Permissions box: System Settings opens at Screen and System Audio Recording. Switch RustDesk on, and choose Quit and Reopen if asked. The keyboard and mouse are already allowed.
- 4Set a password of your own.In RustDesk, Settings, Security, unlock with your password and set a permanent password, so you can connect when nobody is at the Mac. Note the ID on RustDesk's main screen; below it, the status reads Ready.
Every day, from your computer
- 1Install RustDesk on your own computer.From rustdesk.com, for Windows, Mac or Linux, or from the App Store or Google Play.
- 2Point it at your Mac's server.In RustDesk, Settings, Network, ID/Relay server: put the address from Access in ID server and in Relay server, leave API server empty, and put your Mac's key in Key. The Mac's own RustDesk is already set up, so the easiest is to copy the key from there, Settings, Network, ID/Relay server, while you are connected over Screen Sharing. Over SSH it is the line below.
- 3Enter the Mac mini's ID and your password.Type the ID in Control Remote Desktop, connect, and give the permanent password. You see the Mac's desktop. The first time, macOS asks on the Mac whether RustDesk may bypass the private window picker: choose Allow, or it asks again at every connection.
$ ssh USER@ADDRESS cat /Library/RustDeskServer/data/id_ed25519.pubNo sound? Close Screen Sharing: while it is connected it takes the Mac's sound and mutes it. Then switch Mute off in System Settings, Sound. The key is made on your Mac and on no other, and nothing goes through RustDesk's public servers. Your network has to let out TCP ports 21115 to 21119 and UDP port 21116. After a Reinstall your Mac has a new key: put it in again on your computer, and check the ID. When the Mac is erased at the end of the service, RustDesk, its server and its key go with it.
From a Mac
The desktop, with Screen Sharing
- 1Open Screen Sharing.It comes with macOS. Press Command and Space, type Screen Sharing and press Return. Or copy the Screen sharing line from Access (vnc:// and the address) and open it in Safari: macOS hands it to Screen Sharing.
- 2Connect to the address.In Screen Sharing, choose Connection, New, and type the address from Access.
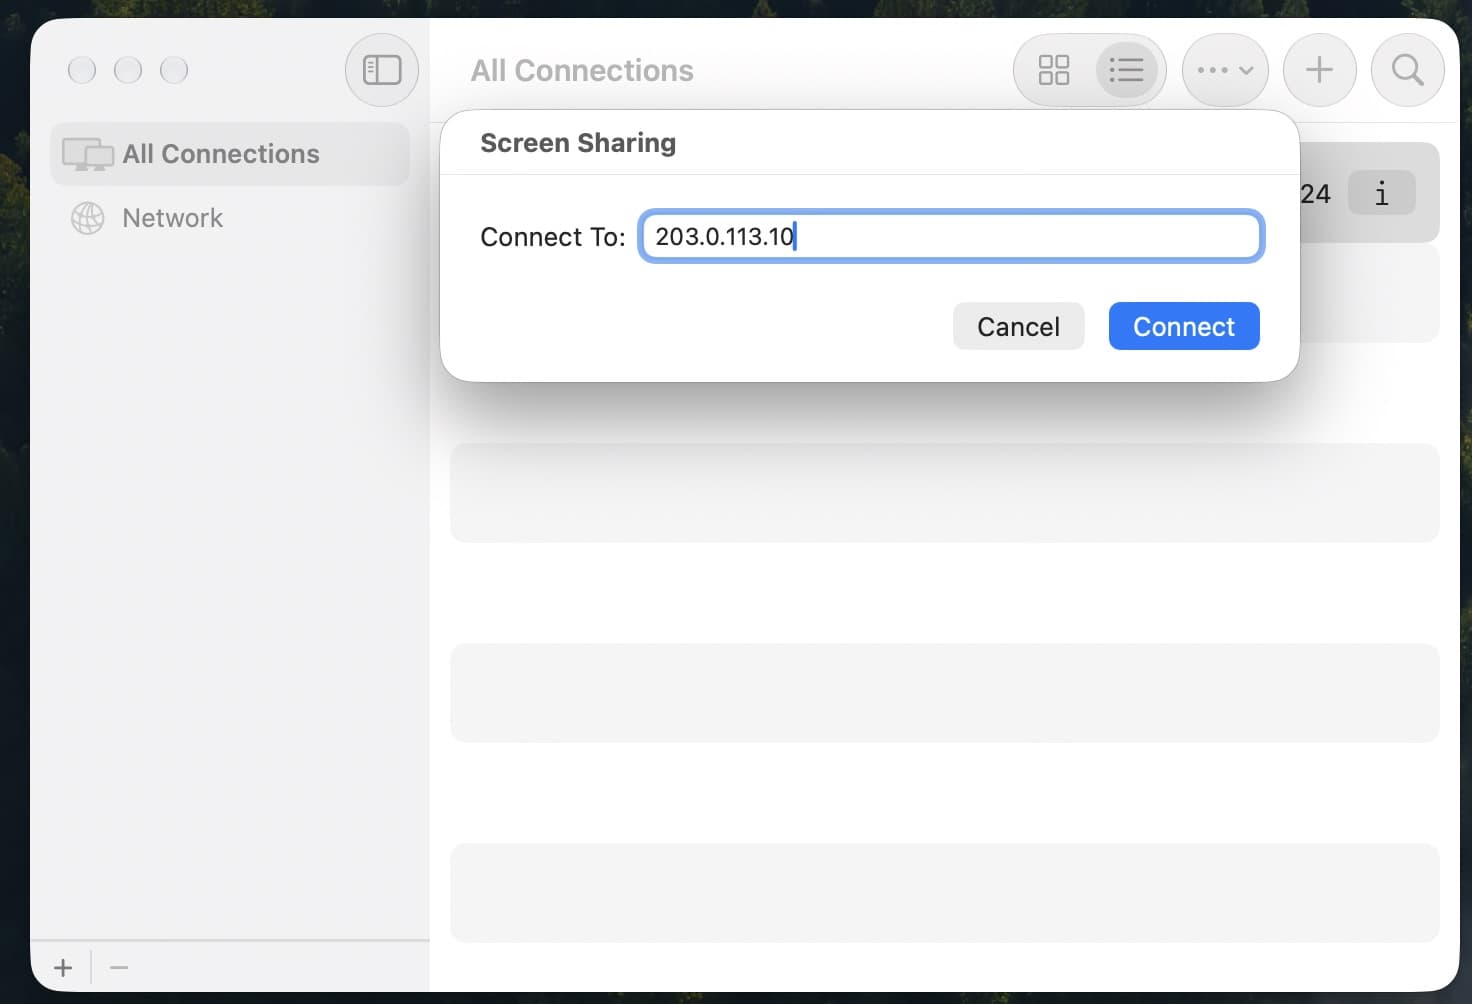
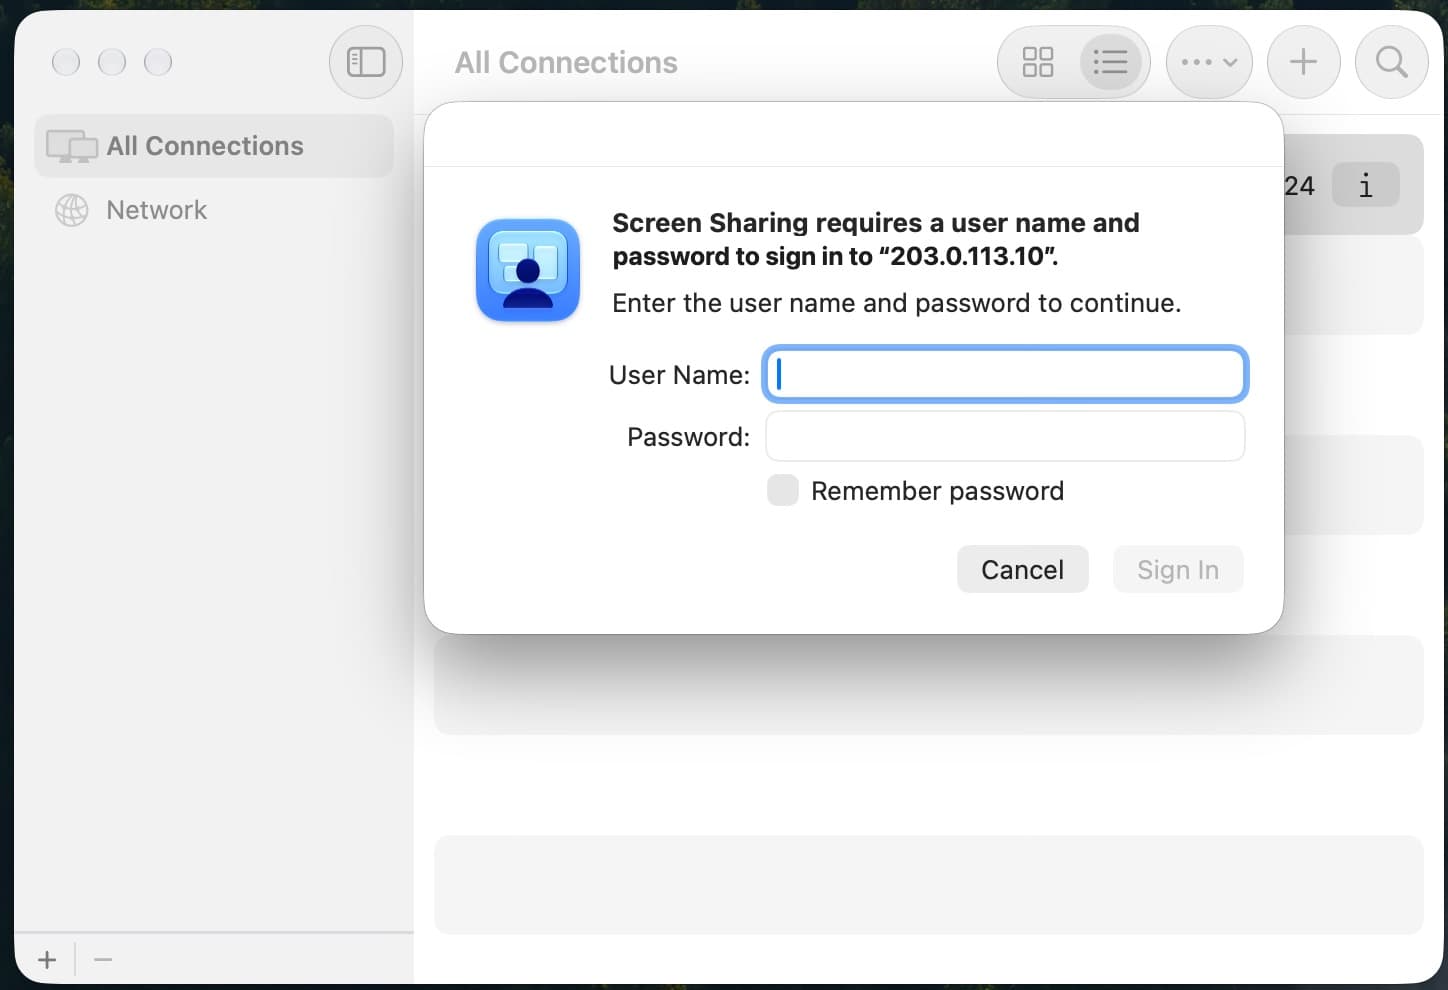
- 3Sign in with your user and password.If you are asked about the connection type, choose High Performance when your network allows it, Standard otherwise.
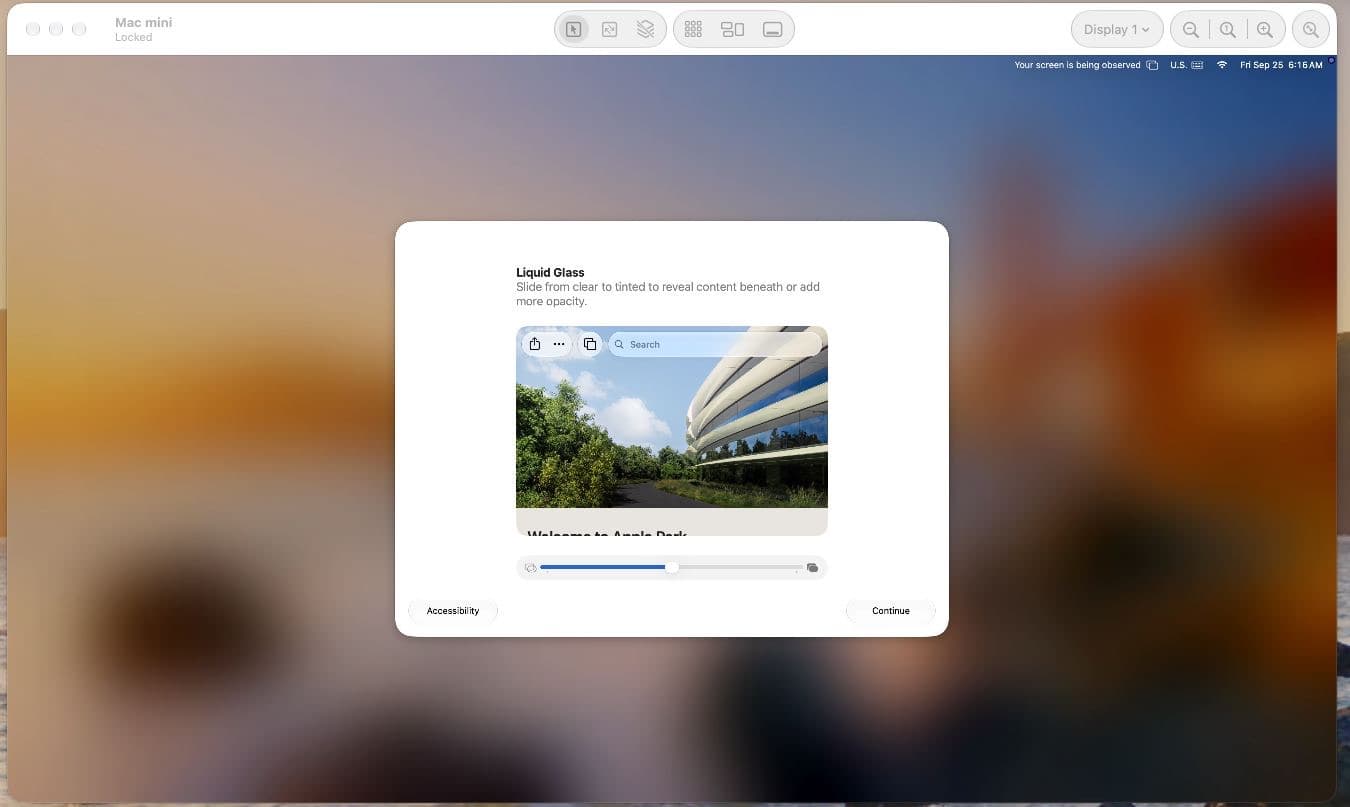
- 4You see the Mac's desktop.The first time, macOS shows a few welcome screens. Click Continue through them.
Screen Sharing between two Macs is encrypted. Nothing else to set up.
The terminal, with SSH
Open Terminal and run the SSH line from Access. The first time, you are asked whether to trust the Mac: type yes and press Return, then the password. Nothing appears while you type it, which is normal.
$ ssh USER@ADDRESS
The authenticity of host 'ADDRESS' can't be established.
ED25519 key fingerprint is SHA256:...
Are you sure you want to continue connecting (yes/no/[fingerprint])? yes
USER@ADDRESS's password:
USER@Mac-mini ~ %
To log in without a password, add your public key under SSH keys on the Mac's page. It reaches the Mac within a minute.
From Windows
The desktop, with TightVNC Viewer
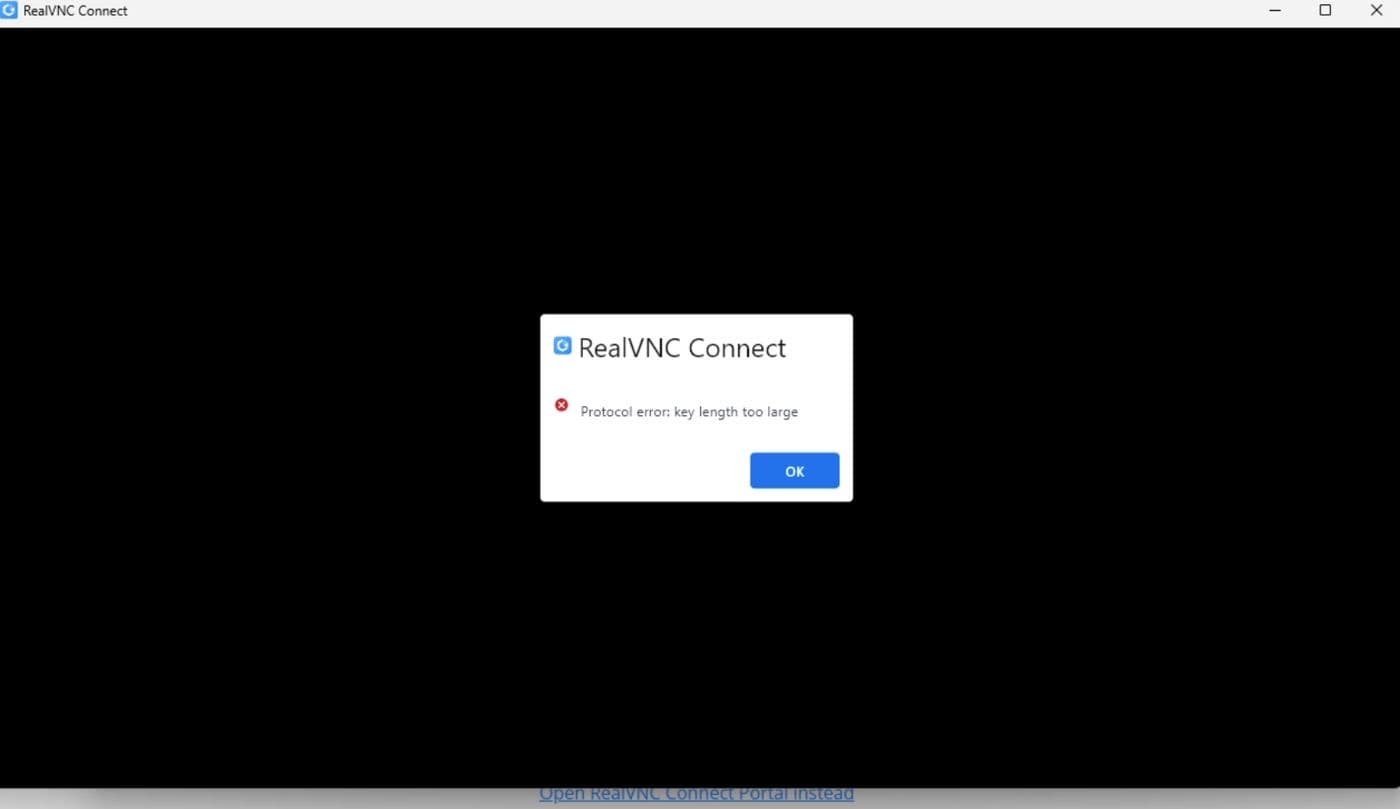
RealVNC Viewer does not connect to macOS: it stops at Protocol error: key length too large. Use TightVNC Viewer or TigerVNC Viewer, both free.
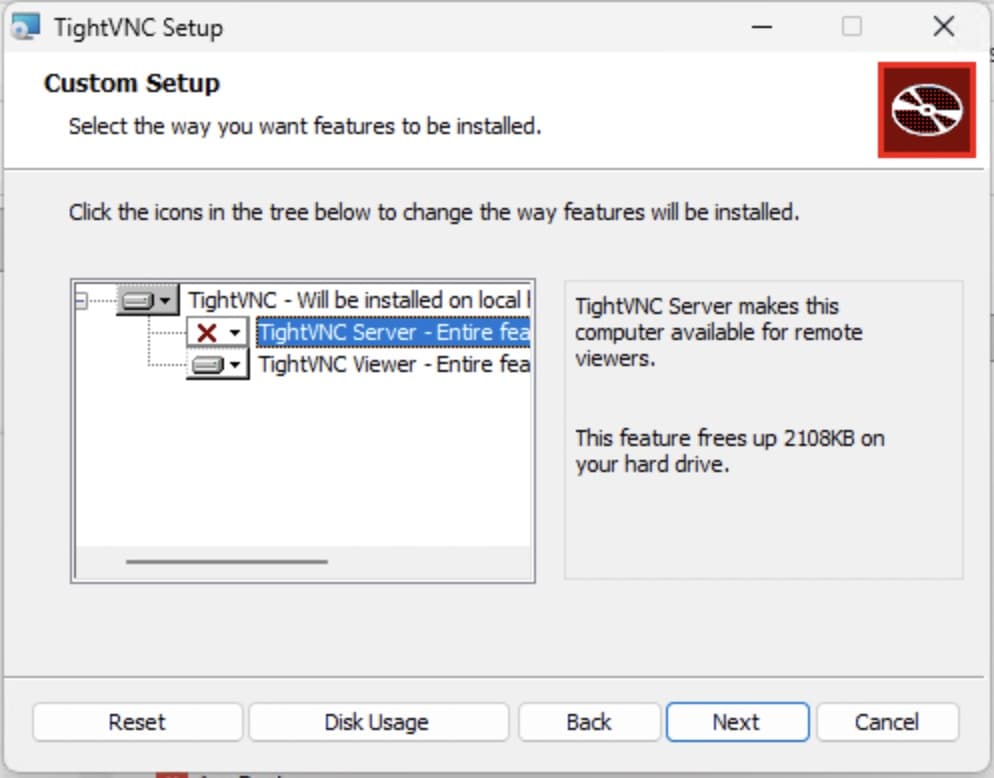
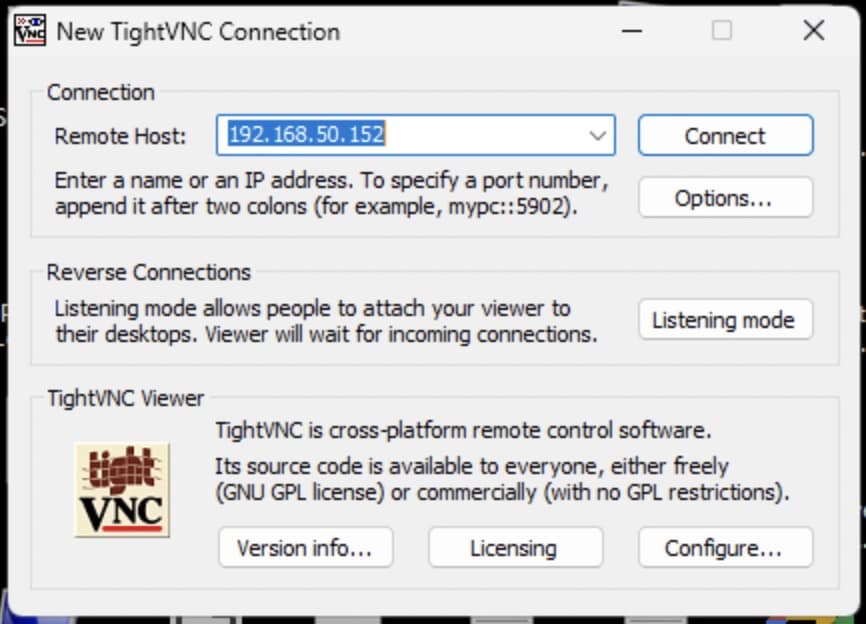
- 1Install TightVNC Viewer.Download it from tightvnc.com. In the installer choose Custom and install the Viewer only; you do not need TightVNC Server.
- 2Connect to the address.Open TightVNC Viewer, type the address from Access in Remote Host and click Connect.
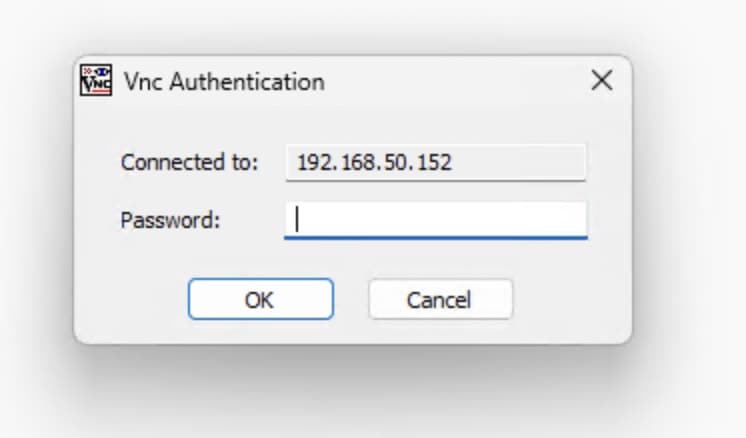
- 3Enter the VNC password.The eight character one, not your user's password.
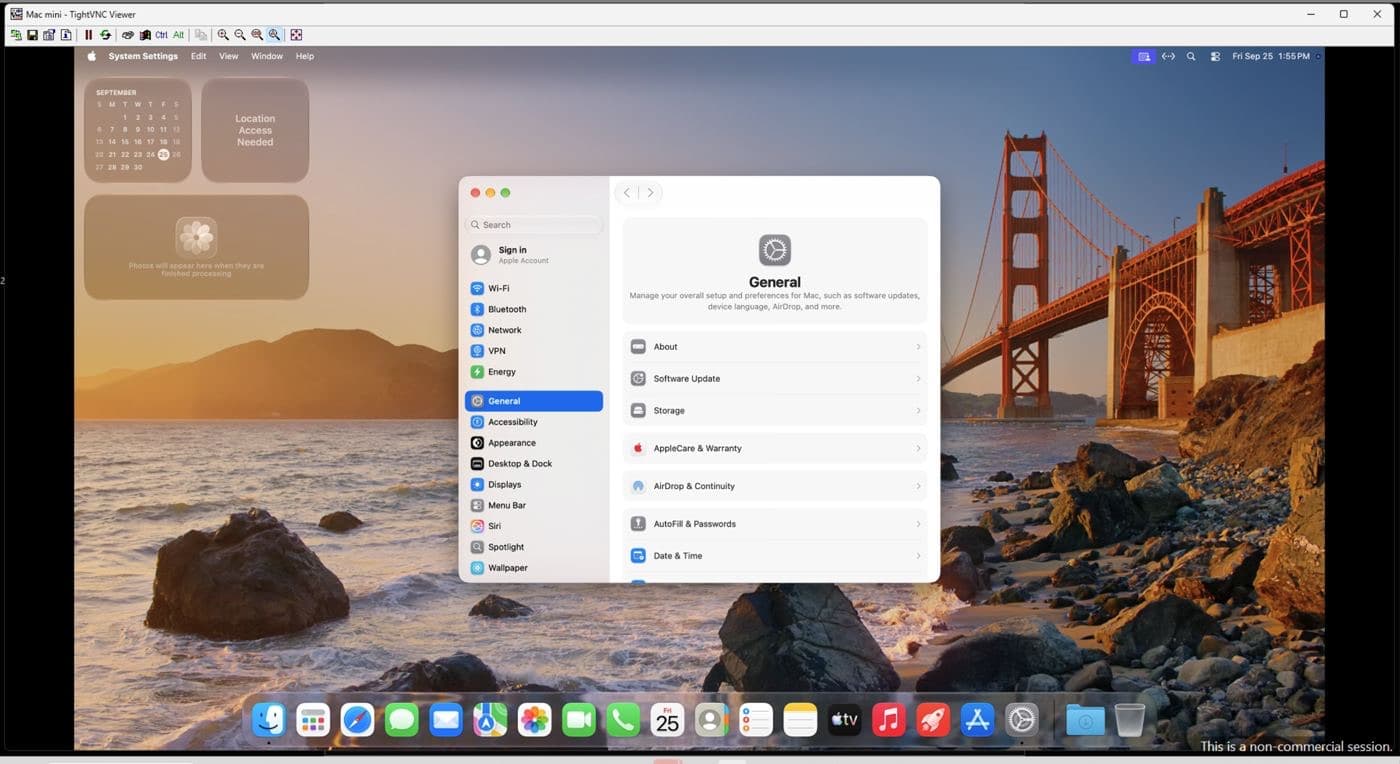
- 4Sign in to macOS.If you see the macOS login screen, sign in with your user and password.
The terminal, with SSH
SSH is built into Windows 10 and 11. Open PowerShell, run the SSH line from Access, type yes at the question about the Mac's key, then the password.
PS C:\> ssh USER@ADDRESS
Are you sure you want to continue connecting (yes/no/[fingerprint])? yes
USER@ADDRESS's password:
USER@Mac-mini ~ %
Encrypt the VNC session through SSH
A VNC connection from Windows is not encrypted. To encrypt it, open a tunnel first and keep that PowerShell window open while you work, then point TightVNC Viewer at localhost::5901.
ssh -L 5901:localhost:5900 USER@ADDRESSFrom Linux
The terminal is ssh, as on a Mac. For the desktop, use Remmina with the VNC protocol or TigerVNC Viewer, connect to the address and use the VNC password.
To encrypt the desktop, open a tunnel and connect the viewer through it:
ssh -L 5901:localhost:5900 USER@ADDRESS
vncviewer localhost::5901
Good to know
| Administrator | Your user is an administrator. Install whatever you need: Xcode, Homebrew, CI runners. |
| Apple Account | You can sign in with your own Apple Account for Xcode, the App Store and iCloud. Find My Mac stays off: a profile blocks it on every MacDuty Mac. |
| Managed Mac | The Mac is enrolled in our device management and has a technical account of ours, used to prepare it, reset your password when you ask and erase it at the end. Do not remove the management profile or that account. |
| Your password | Change it with Reset password on the Mac's page, not with passwd in Terminal: otherwise Show login keeps showing the old one. The VNC password does not change. |
| Wi-Fi | Wi-Fi is off. The Mac runs on a wired connection in the data center. |
| When it ends | When you cancel, we email you the day the Mac will be erased. At that moment it is erased and cannot be recovered, so copy off your work before then, to Git or iCloud Drive for example. |
When it does not connect
REMOTE HOST IDENTIFICATION HAS CHANGED
You connected to this address before, to another Mac. Forget the old key and connect again:
ssh-keygen -R ADDRESSRustDesk says Key mismatch
The key on your computer is not your Mac's. Print it again over SSH and paste it in Settings, Network, Key, with no spaces. It changes after every Reinstall.
Protocol error: key length too large
That is RealVNC, which does not work with macOS Screen Sharing. Use TightVNC Viewer or TigerVNC Viewer.
The login screen rejects the password
The Mac uses a U.S. keyboard layout, so a character on your keyboard may land as another. Type carefully, or test the password over SSH: if SSH accepts it, the password is right.
Connection refused or timed out
Check the address against Access. Some networks block port 22 (SSH) or 5900 (VNC): try another network, or write to us.
The desktop is slow
From a Mac, choose High Performance in Screen Sharing. From Windows, use a wired or steady connection. Video over VNC is never smooth; development work is not affected.
Still stuck? Open a ticket from your account or write to [email protected] with the Mac's name.
In stock today
These are in the rack now. Pick one, see what it comes with, and make your account only when you order.
Checking the racks
A Mac mini of your own
Pick a build. When one is not on the shelf, leave your email and we write the day it is racked.
Next